Maximizing Natural Light in Real Estate Photography
3 February 2026
When it comes to showing off a property in the best possible light (literally!), nothing beats natural light. The way the sunlight dances across hardwood floors or floods a living room with warmth? That’s magic you just can’t replicate with artificial lighting. And if you're in the real estate game—whether as a photographer, an agent, or a homeowner—it’s your golden ticket to stunning photos that capture attention and ultimately, drive sales.
So, let’s break down how you can maximize natural light in real estate photography, from gear tips to timing tricks, all the way to post-editing.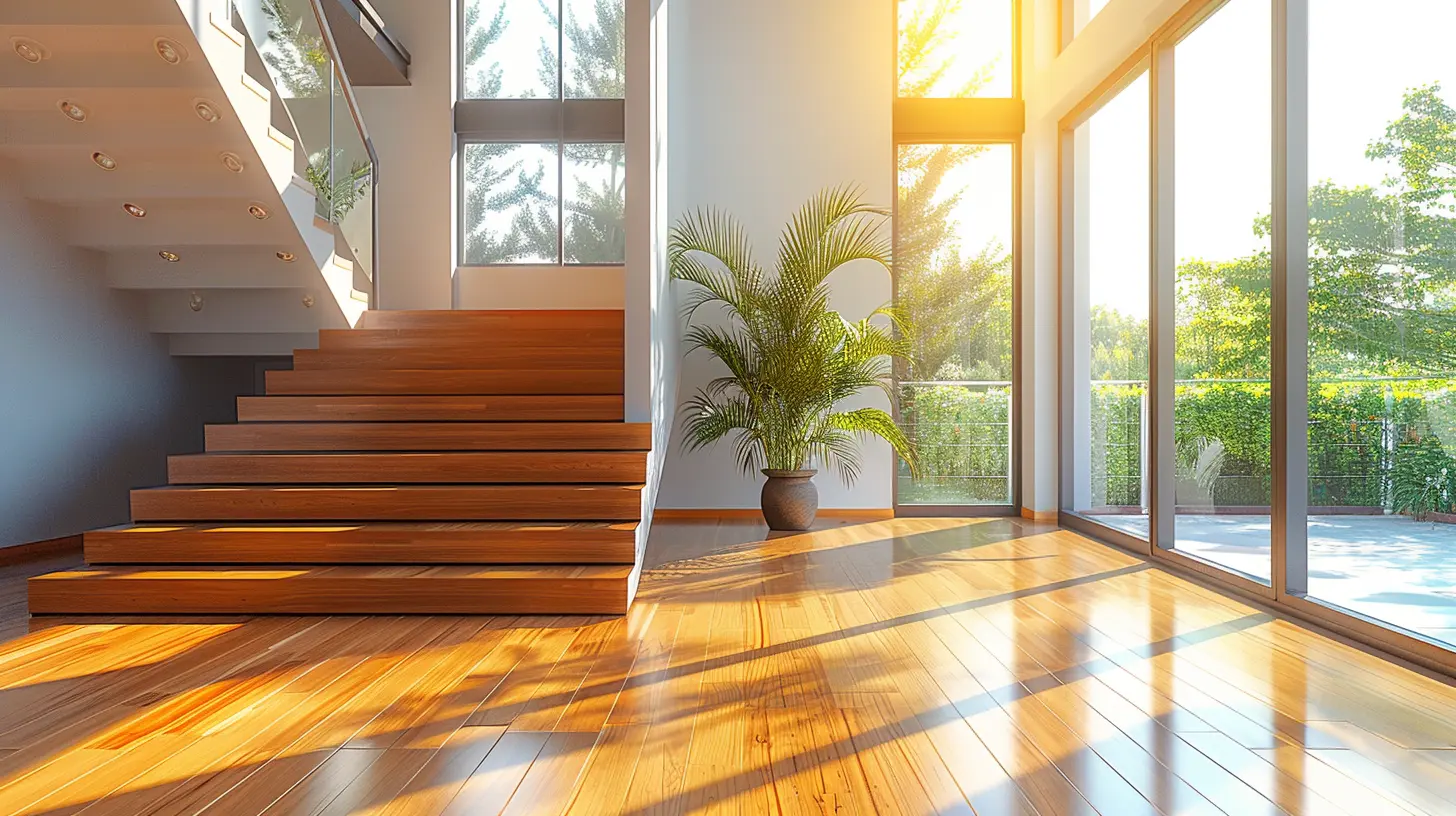
Why Natural Light Matters in Real Estate Photography
Let’s kick things off with the big “why.” Why is everyone so obsessed with natural light?Well, real estate is all about emotional connection. Buyers don't just want to see a property—they want to feel it. They want to picture themselves sipping coffee by the sun-filled kitchen window or watching the sunset from their balcony. Natural light creates that emotional connection. It makes rooms look bigger, fresher, and way more inviting.
On the flip side, artificial lighting can make a space look flat, harsh, or even outdated. That’s not the vibe you want when trying to sell a house.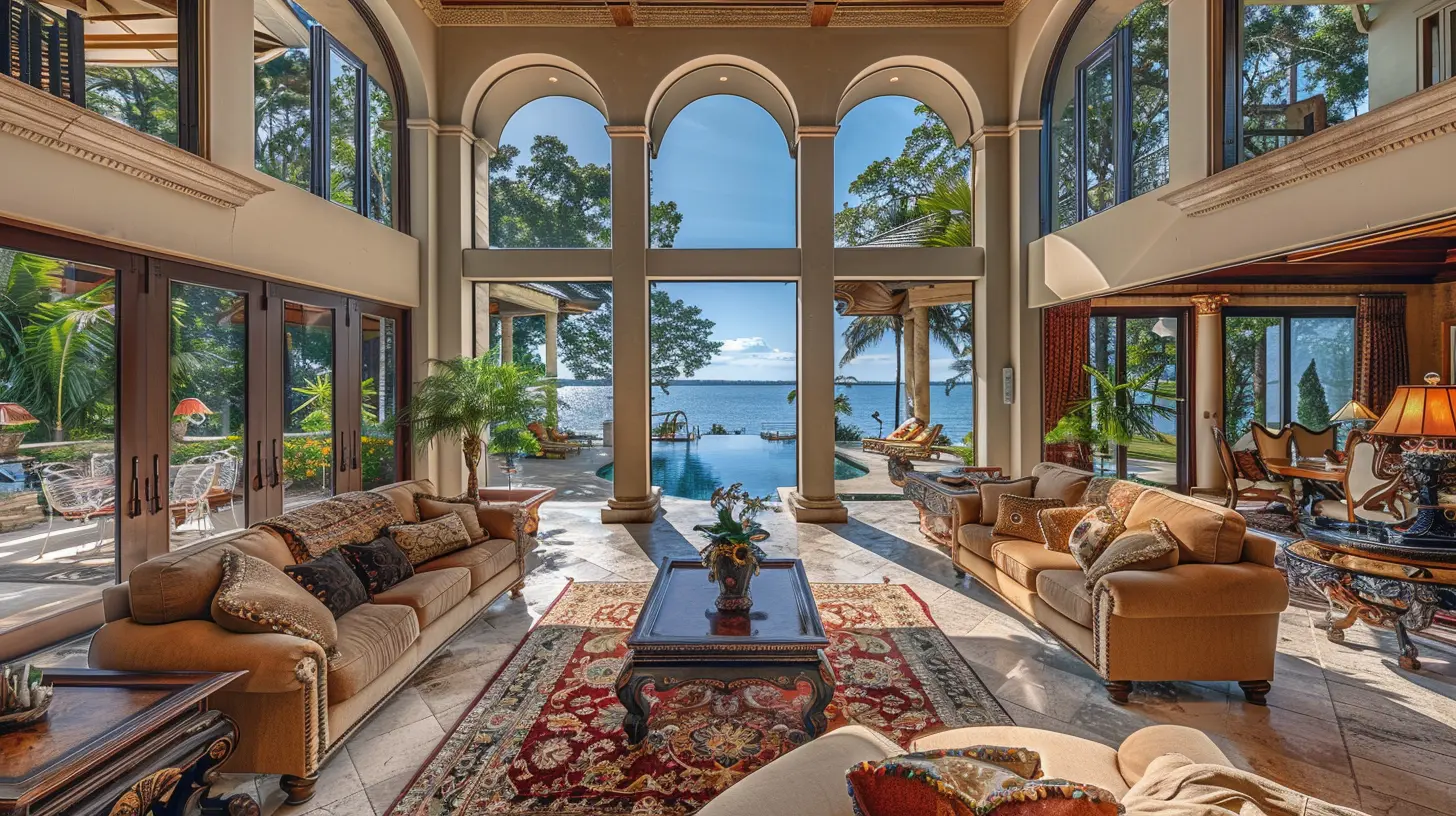
The Best Time of Day to Capture Natural Light
Timing is everything—especially when you’re dealing with the sun. Light quality shifts dramatically throughout the day, and knowing when to shoot can make or break your photos.Morning Light
Think soft, cool hues. Perfect for east-facing rooms. Morning light is gentle and less likely to create harsh shadows, making it ideal for exterior shots of east-facing homes or interiors that face the sunrise.Midday Light
Bright but tricky. This is when the sun is at its highest and harshest. If you’re not careful, you’ll get blown-out windows and unflattering shadows. Midday might be fine for interiors with good light diffusion (like through sheer curtains), but it’s generally not ideal for exteriors.Golden Hour (Late Afternoon)
Photographers absolutely live for this. Warm, golden, and soft—these rays bring out textures and make everything glow. West-facing homes and rooms shine best during this time.Blue Hour (Just After Sunset)
Okay, this one’s not “natural light” in the traditional sunny sense, but it’s still ambient and beautiful. It creates a serene, almost dreamy feel, and it’s fantastic for exterior shots with lit interiors.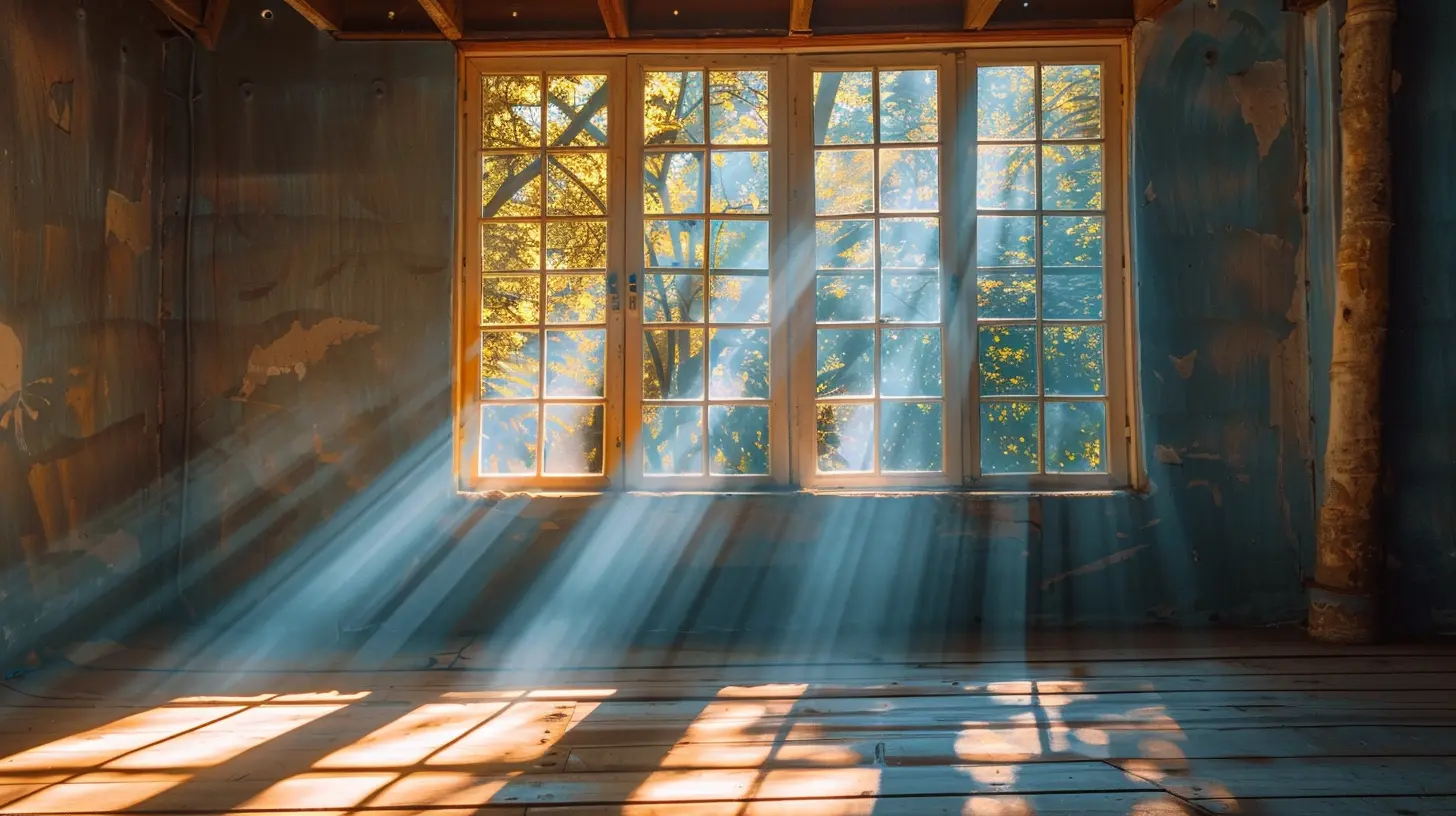
How to Prepare a Space for Maximum Light
Before even unpacking your camera, prep the property. The more light you can get in, the better your photos will turn out—no matter how fancy your camera is.1. Open All Curtains and Blinds
This one’s a no-brainer, right? You’d be surprised how many photographers forget to actually open the windows. Make sure shades, drapes, and blinds are pulled up or to the side so light can flood in.2. Clean the Windows
Smudges and dirt seriously ruin your game. Dirty windows block and distort natural light. Clean glass will not only brighten things up but also create crisper photos.3. Declutter Each Room
Light loves space. Too much clutter absorbs and blocks light, making rooms look darker and smaller. Tidy up surfaces, remove bulky furniture, and let the space breathe.4. Use Light-Colored Decor
White or neutral walls, light furniture, and minimalistic decor bounce light around the room. Dark colors? Not so much. They absorb light and make the space feel more closed-off.
Camera Settings to Maximize Natural Light
You don’t need a $10,000 setup to shoot beautiful, naturally lit interiors. But you do need to tweak your camera settings to make the most of the available light.Aperture (f-stop)
Use a lower f-stop (f/2.8 to f/5.6) to let in more light. This also creates a shallow depth of field, which can be great for emphasizing key details like countertops or cozy reading nooks.Shutter Speed
Slower shutter speeds allow more light to hit your camera sensor. Just make sure to use a tripod to avoid camera shake and blurry images.ISO
Keep ISO as low as possible to avoid noise, but don’t be afraid to raise it slightly if you're in a dim space. Modern cameras handle ISO 400–800 like a champ.White Balance
Set your white balance manually or use the daylight preset to maintain color accuracy. You don’t want interiors looking too yellow or blue—it just feels off.Equipment That Helps Enhance Natural Light
Okay, so sometimes Mother Nature isn't super cooperative. Cloudy days happen. Here’s what you can use to give natural light a boost without going full studio-mode.1. Reflectors
These handy tools bounce light back into dark corners, especially helpful in larger rooms or ones with fewer windows. Need a budget hack? A big piece of white foam board works wonders too.2. Tripod
A must-have for long exposure shots. If you’re shooting with slower shutter speeds to bring in more light, a tripod keeps everything crisp and steady.3. Wide-Angle Lenses
A wide-angle lens (around 16–24mm for full-frame cameras) captures more of the room and makes spaces feel expansive and airy—basically, the way natural light makes them look in real life.4. Polarizing Filters
These reduce glare and reflections—perfect for shooting through windows or around shiny surfaces.Pro-Level Tricks to Enhance Natural Light Indoors
Want to look like a total pro? Use these tricks to subtly enhance natural light without crossing over into artificial territory.Use Sheer Curtains
They diffuse harsh sunlight, especially during midday when the sun can be overpowering. This creates a soft, even glow instead of harsh stripes of light.Turn Off All Indoor Lights
Mixing artificial light (which usually has a yellow tint) with natural light can throw off your white balance and make rooms look inconsistent. Stick to one light source—natural is better.Use Mirrors Strategically
Mirrors reflect sunlight beautifully. Place them opposite windows to double the amount of perceived light in a room.Editing Tips to Make Natural Light Pop
Even if you nail the shot in-camera, some post-processing can help bring out the best in your photos—without overdoing it.Brightness and Contrast
Gently increasing brightness while balancing contrast can highlight the natural light without making things look overexposed.White Balance Adjustments
Fine-tune white balance in Lightroom or Photoshop to make sure the sunlight feels natural, not too warm or cold.Shadow and Highlight Control
Bring up the shadows to reveal more detail in dark corners. Lower the highlights if areas near windows get too bright. This gives you a well-balanced exposure.Use Graduated Filters
Want to darken a too-bright window without affecting the rest of the room? Graduated filters let you isolate sections of your photo and adjust exposure selectively.Common Mistakes to Avoid
Even seasoned photographers mess up sometimes. Here’s what to steer clear of:- Shooting into the sun – This can create lens flare or silhouette your interiors.
- Over-editing – Making natural light look “too perfect” kills the authenticity. Keep it real.
- Wrong time of day – Shooting at the wrong time leads to weird, uneven lighting. Time it right.
- Ignoring weather – Overcast days can actually offer soft, diffuse light that’s great for interior shots. Don’t assume sun is always better.
Why Buyers Actually Respond to Natural Light Photos
It’s not just about pretty pictures—there’s psychology behind it. Homes filled with natural light feel more open, cleaner, and more alive. People are naturally drawn to brightness—it signals energy, wellness, and positivity. Photos that capture this vibe spark imagination and connection.When buyers scroll through listings, naturally lit homes stand out. They get more clicks, more inquiries, and, often, better offers. That’s not a coincidence—that’s savvy presentation.
Final Thoughts
Natural light is your secret weapon in real estate photography. With a little prep, the right gear, and a basic understanding of how to work with sunlight, you can create jaw-dropping, scroll-stopping images that truly sell homes.So next time you’re picking up the camera, remember: don’t fight with light—work with it. Let the sun be your silent partner in bringing spaces to life. Whether it's morning calm or golden hour glow, natural light is your best friend behind the lens.
all images in this post were generated using AI tools
Category:
Real Estate PhotographyAuthor:

Vincent Clayton
Discussion
rate this article
2 comments
Fatima Ortiz
Great tips! Harnessing natural light can truly transform a space in photos. I love how it makes homes feel warm and inviting—definitely a game changer for real estate!
February 15, 2026 at 12:44 PM
Vincent Clayton
Thank you! I’m glad you found the tips helpful. Natural light really does enhance the warmth and appeal of homes in photos!
Maverick McWilliams
Maximizing natural light in real estate photography is like giving a home its best filter. It transforms spaces, highlights architectural details, and creates inviting atmospheres. A well-lit photo not only captures attention but also sparks imagination—making potential buyers envision their future in the home.
February 3, 2026 at 1:07 PM
Vincent Clayton
Thank you for your insightful comment! I completely agree—natural light truly enhances the beauty of spaces and helps potential buyers connect emotionally with the home.