Mastering the Art of Real Estate Photography: Essential Tips for Success
24 February 2026
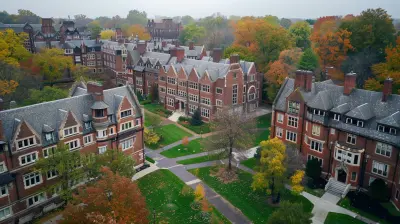
When it comes to selling a home, first impressions are everything. And in today’s digital world, buyers often make their first impression online through listing photos. Think about it—when was the last time you clicked on a property with dark, blurry pictures? Probably never. That’s why mastering the art of real estate photography is essential.
Whether you're an aspiring real estate photographer, a seasoned pro looking for a refresher, or a real estate agent wanting to up your photography game, this guide has got you covered. Let’s dive into the essential tips to take stunning real estate photos that capture attention and drive results.
Why Real Estate Photography Matters
Before we jump into the technical stuff, let’s talk about why real estate photography is a game-changer.1. First Impressions Count – Potential buyers often decide to visit (or skip) a property just by looking at the pictures.
2. Higher Click-Through Rates – Listings with high-quality photos get more views and engagements.
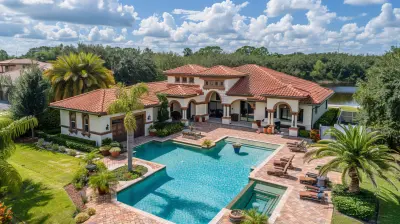
3. Faster Sales & Higher Prices – Professional-looking images can make properties sell quicker and often at higher prices.
Bottom line? If you want to make a property stand out in the crowded real estate market, great photography isn't optional—it’s mandatory.
Essential Equipment for Real Estate Photography
Before you start shooting, make sure you have the right gear. While a smartphone can take decent pictures, investing in professional equipment will make a world of difference.1. Camera
A DSLR or mirrorless camera is your best bet. Look for a camera with a full-frame sensor for better image quality and low-light performance. Some great choices include: Canon EOS 5D Mark IV, Sony A7 III, and Nikon D750.2. Wide-Angle Lens
A wide-angle lens (typically 16-35mm) helps capture more of the room in one shot, making spaces look bigger and more inviting.3. Tripod
Blurry images? No thanks! A sturdy tripod steadies your shots and allows for longer exposures in low light.4. External Flash & Lighting
Natural light is great, but sometimes rooms need an extra boost. A flash setup or a lighting kit can eliminate shadows and brighten dark corners.5. Editing Software
Even the best photos need a little tweaking. Adobe Lightroom and Photoshop are the gold standards for real estate photo editing.
Preparing the Property for the Shoot
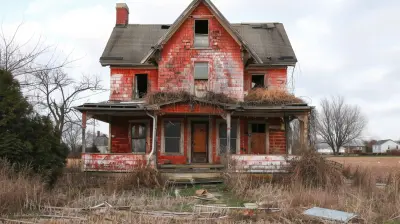
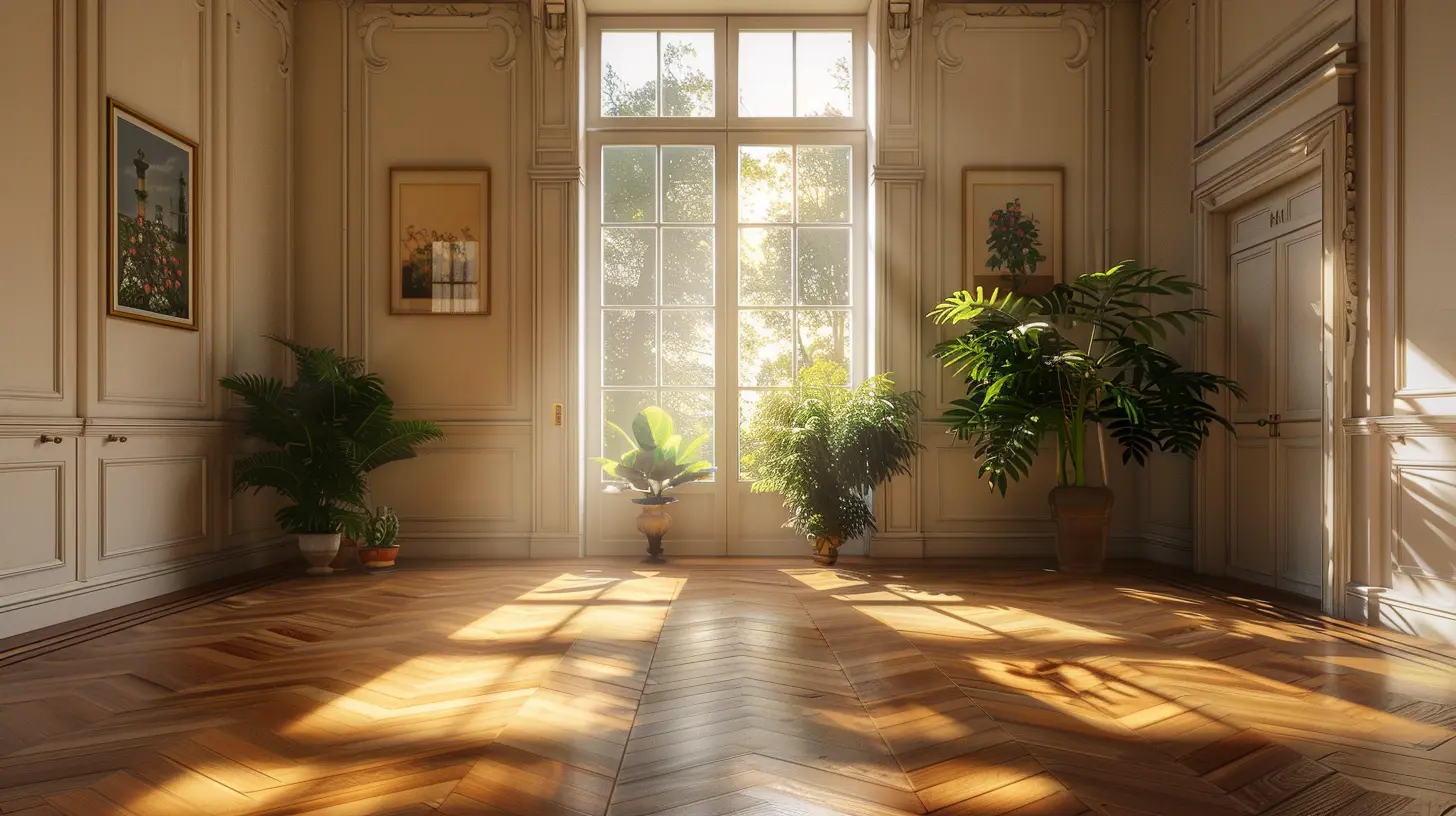
No one wants to see clutter or messy rooms in listing photos. Proper staging is just as important as lighting. Here’s how to prep the space for picture-perfect shots.1. Declutter and Depersonalize
Remove personal items like family photos, pet toys, and excessive decorations. The goal is to make the space feel neutral, so potential buyers can envision themselves living there.2. Clean Everything
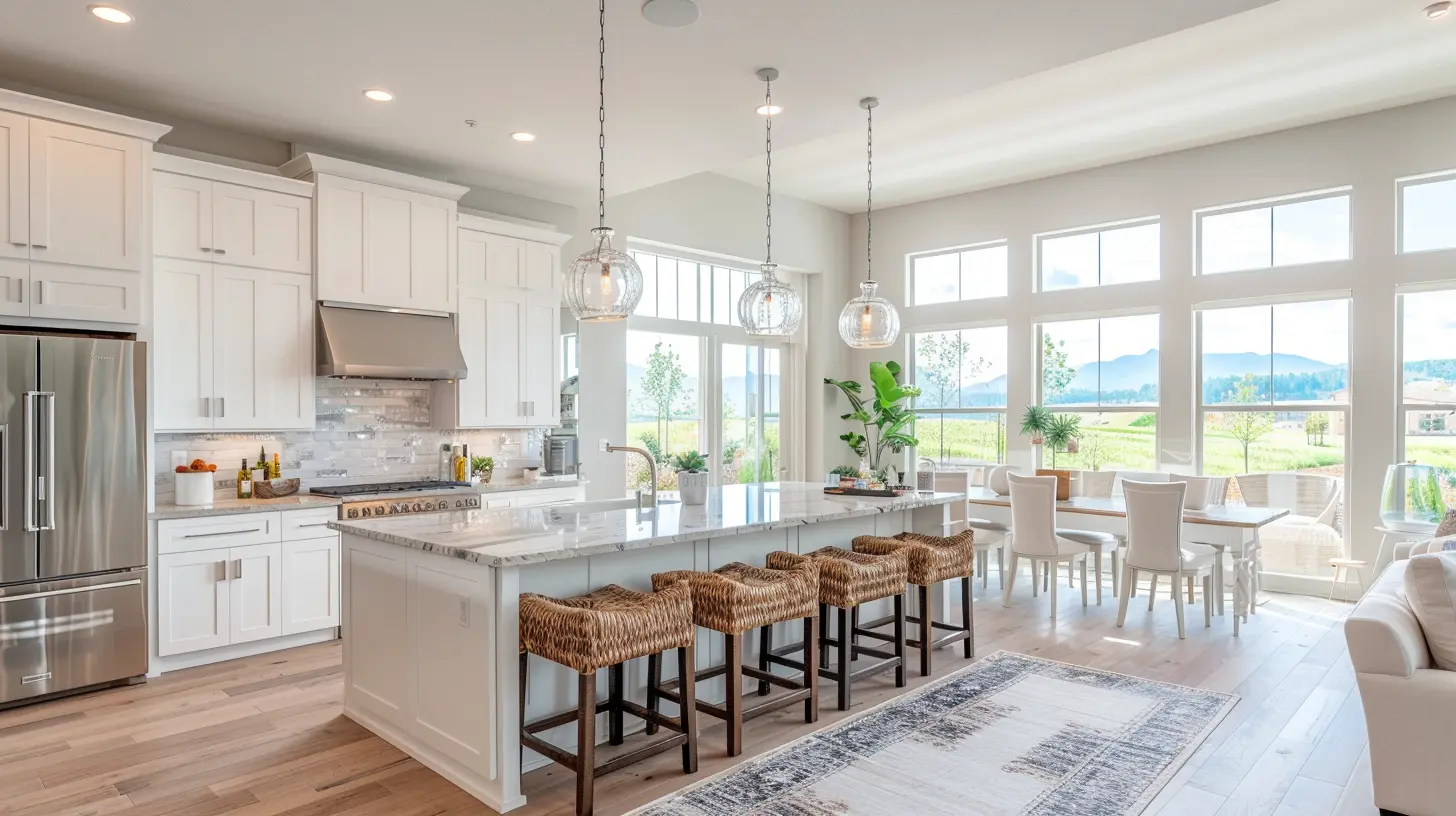
A sparkling clean home instantly looks more inviting. Dust, wipe down surfaces, and vacuum floors. Don't forget to clean windows for crisp, clear shots.3. Optimize Lighting
Open curtains and blinds to let in natural light. Turn on all indoor lights to create a warm atmosphere.4. Stage with Purpose
A well-placed throw blanket, fresh flowers, or a bowl of fruit can add charm to your photos without overwhelming the space.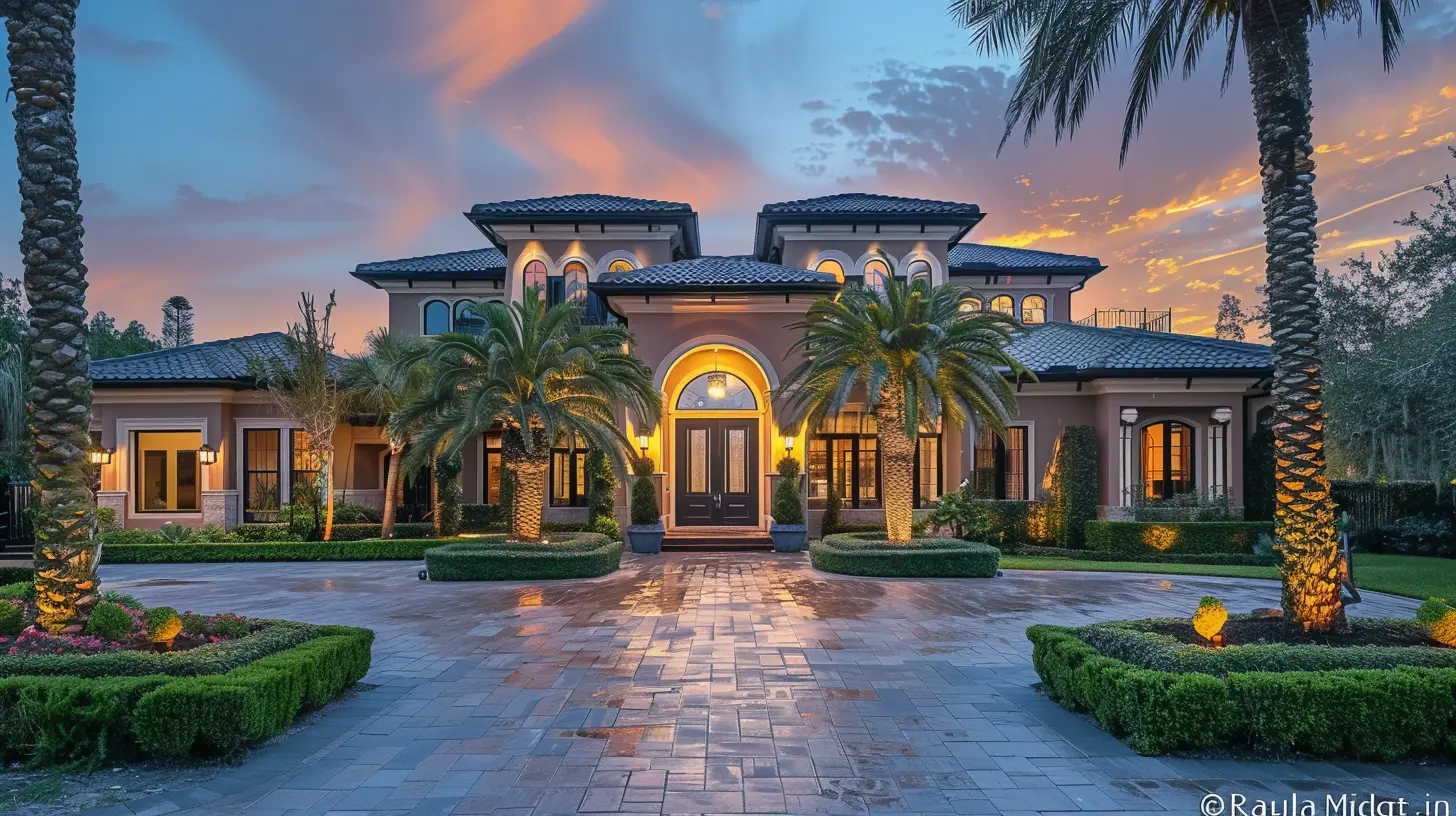
Best Camera Settings for Real Estate Photography
Even with the best gear, using the wrong camera settings can ruin your shots. Here’s what works best:1. Shoot in RAW
JPEG is fine for casual photos, but RAW files give you more control during editing.2. Use a Low ISO (100-400)
A lower ISO reduces noise and keeps images sharp. If you're using a tripod, keep your ISO as low as possible.3. Adjust White Balance
Different lighting can make rooms look too yellow or too blue. Adjust your white balance for a natural look.4. Aperture: f/8 to f/11
This keeps more of the image in focus, ensuring that details in both the foreground and background remain sharp.5. Shutter Speed
Use a slower shutter speed (around 1/5 to 1/60) when using a tripod. Just make sure no one moves, or you’ll get motion blur.Composition Techniques for Stunning Real Estate Photos
Having the right gear and settings is great, but composition is what truly makes a photo stand out.1. Shoot from the Right Height
Avoid shooting from too high or too low. A good rule of thumb? Keep the camera at chest height (around 4-5 feet off the ground).2. Use Leading Lines
Lines created by walls, floors, and furniture can guide the viewer’s eye and create depth.3. Frame the Shot Properly
The goal is to make the room look spacious and inviting. Avoid awkward angles and try to show the room’s best features in every frame.4. Avoid Over-Editing
Enhancing brightness and colors is fine, but don’t go overboard. Buyers should see an accurate representation of the home.
Editing to Enhance Your Photos
Post-processing can take your images from good to WOW. Here’s how to fine-tune your shots:1. Adjust Brightness & Contrast
Enhance the brightness but keep it natural. A slightly increased contrast makes images pop.2. Straighten & Crop
Ensure vertical lines are straight, and crop out unnecessary distractions.3. Correct Colors
Fix any overly warm or cool tones to maintain a neutral and inviting environment.4. Remove Minor Distractions
Some minor edits (like removing a stray cord or dust spots) can make the image cleaner and more appealing.Common Mistakes to Avoid
Even professional photographers can make mistakes. Avoid these common pitfalls:- Overexposing or Underexposing Images – Adjust camera settings to maintain a balanced exposure.
- Skipping the Tripod – This results in blurry images, especially in low-light conditions.
- Shooting at the Wrong Time of Day – Aim for daylight hours when natural light is abundant.
- Forgetting to Stage the Home – A messy, cluttered space will always look bad, no matter how good the camera is.
Final Thoughts
Mastering real estate photography isn’t just about having a fancy camera. It’s about understanding lighting, composition, and editing to create images that sell homes faster and for a higher price. By following these tips and avoiding common mistakes, you'll be well on your way to capturing stunning real estate photos that leave a lasting impression.Got any go-to photography hacks? Let us know in the comments!
all images in this post were generated using AI tools
Category:
Real Estate PhotographyAuthor:

Vincent Clayton
Discussion
rate this article
2 comments
Petra West
Mastering real estate photography is non-negotiable for success. Invest in quality equipment, understand lighting, and showcase properties with compelling angles. These techniques will elevate your listings and attract buyers.
March 4, 2026 at 4:31 AM
Vincent Clayton
Thank you for your insightful comment! Indeed, investing in quality equipment and mastering lighting and angles are key to elevating real estate listings and attracting buyers. Your emphasis on these techniques reinforces the article's essential tips for success!
Miles Porter
Want your listings to shine brighter than a disco ball? Capture their best angles, avoid shadows, and remember—houses can’t smile, but good photos can!
February 27, 2026 at 4:41 AM
Vincent Clayton
Great tips! Good lighting and angles make all the difference in showcasing a property. Thanks for sharing!