Mastering Depth of Field in Real Estate Photography
29 June 2025
Real estate photography isn't just about snapping pictures of beautiful homes; it's about telling a story, drawing buyers in, and making spaces look irresistible. One of the most powerful tools in a real estate photographer’s arsenal is depth of field (DoF). Used correctly, it can make spaces look expansive, highlight key details, and give images a professional, polished look.
But what is depth of field exactly? And how can you master it to create stunning real estate photos that stand out? Let’s dive in. 
What Is Depth of Field?
Depth of field refers to the range of a photograph that appears sharp and in focus. A deep depth of field keeps most or all of the scene in focus, while a shallow depth of field blurs the background or foreground, drawing attention to the subject.In real estate photography, understanding when to use a deep vs. shallow depth of field can make all the difference in how a property is presented. 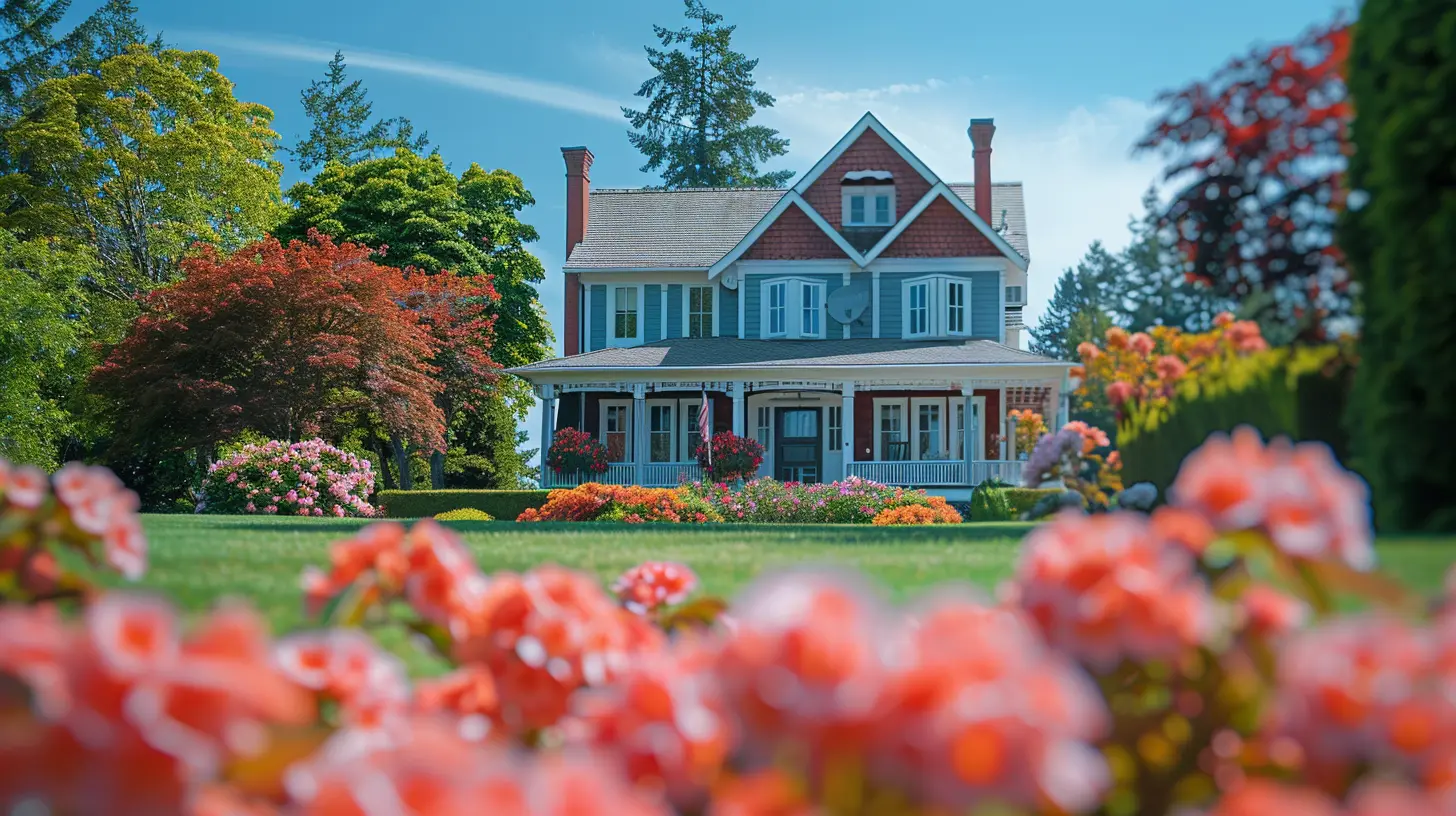
Why Depth of Field Matters in Real Estate Photography
A well-balanced depth of field can:✅ Enhance spaciousness – Making rooms appear bigger and more inviting.
✅ Direct attention – Highlighting architectural details or unique features.
✅ Create atmosphere – Giving images a soft, dreamy, or crisp and professional feel.
✅ Improve image quality – Ensuring clarity where it matters most.
Mastering depth of field isn’t just about camera settings; it’s about storytelling. You want potential buyers to feel like they're already walking through the space just by looking at your photos. 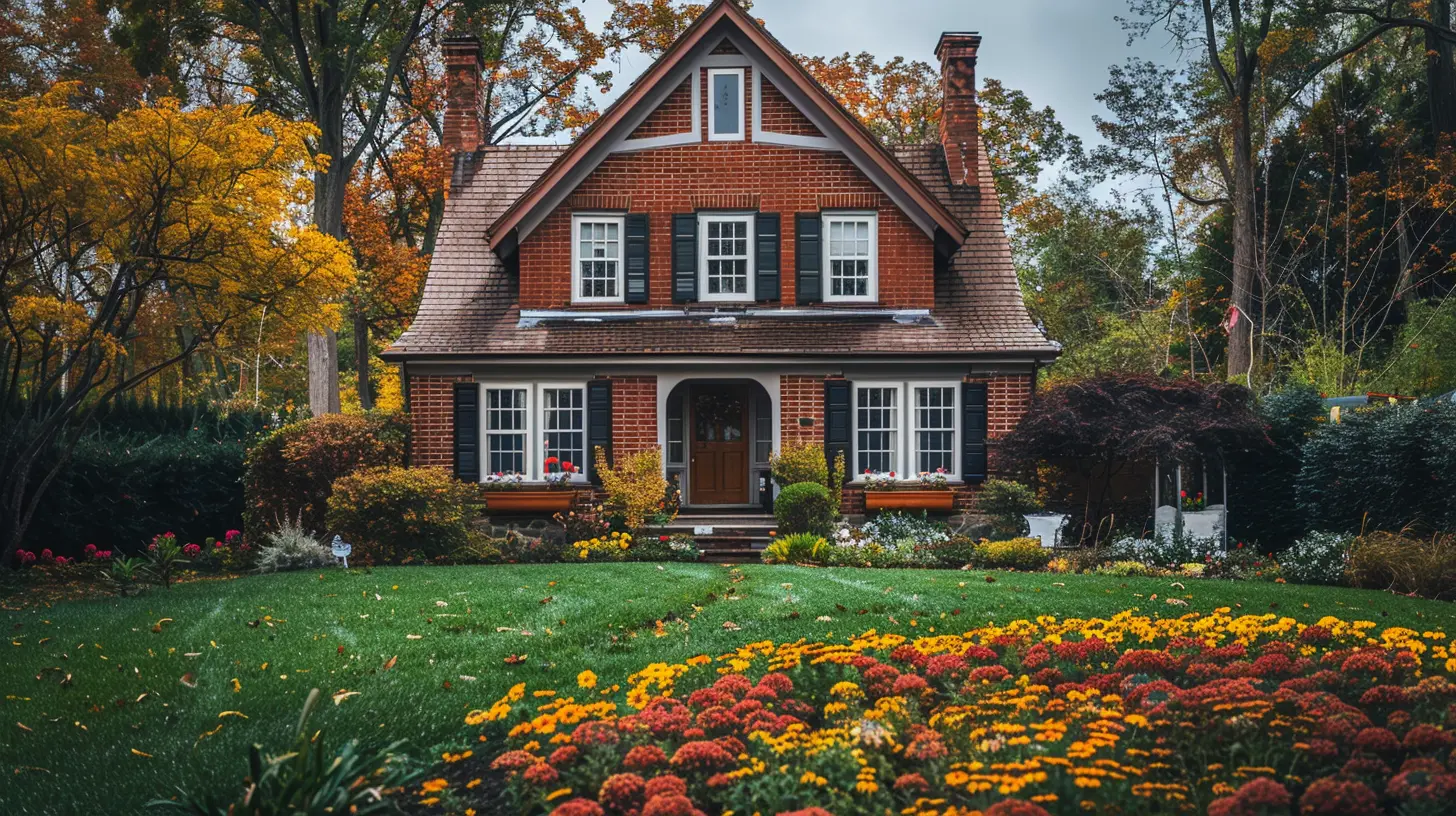
Factors That Affect Depth of Field
Several factors influence depth of field in real estate photography:1. Aperture (f-stop)
Aperture controls the size of the lens opening, affecting how much light enters the camera.- Wide aperture (low f-stop, e.g., f/2.8-f/5.6) → Shallow depth of field (sharp on subject, blurred background).
- Small aperture (high f-stop, e.g., f/8-f/16) → Deep depth of field (sharp throughout).
For interiors and exteriors, a smaller aperture (higher f-stop) is usually best to keep everything in focus.
2. Focal Length
The longer the focal length (e.g., using a zoom lens at 100mm), the shallower the depth of field. Wide-angle lenses (e.g., 16mm-24mm) naturally provide a deeper depth of field, making them ideal for real estate interiors.3. Distance from the Subject
The closer you are to the subject, the shallower the depth of field. This is great for artistic shots but not ideal for full-room captures. Keep a reasonable distance to maintain clarity.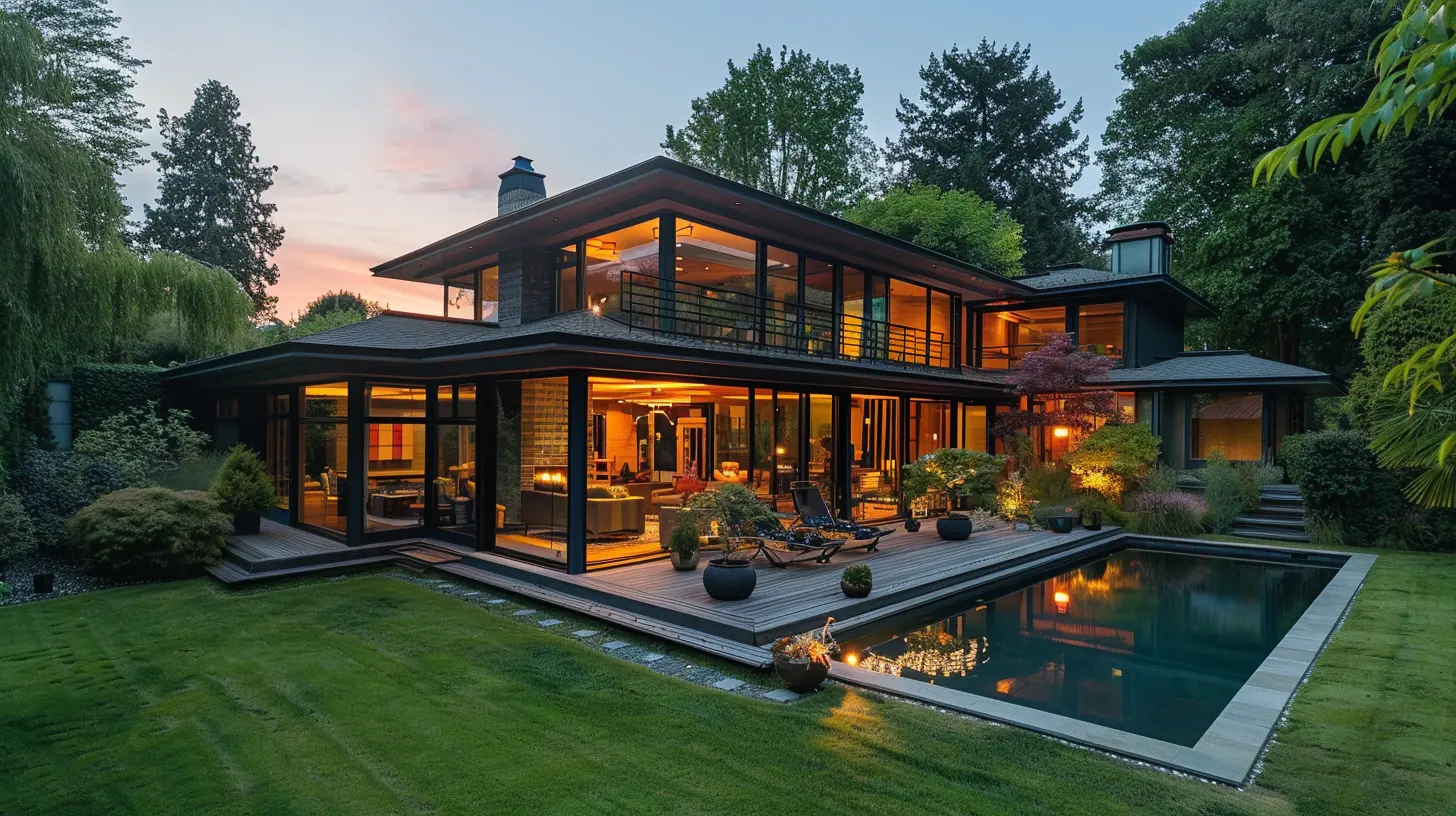
When to Use Shallow vs. Deep Depth of Field in Real Estate Photography
Shallow Depth of Field (f/2.8 – f/5.6)
☑ Detail shots – Want to highlight a unique feature like a fireplace, chandelier, or countertop? A shallow DoF helps blur distractions and focus attention.☑ Outdoor real estate portraits – If a realtor or homeowner is in the shot, a blurred background keeps the focus on them.
☑ Creative compositions – Close-up shots of decor elements, textures, or materials pop beautifully with a shallow depth of field.
Deep Depth of Field (f/8 – f/16)
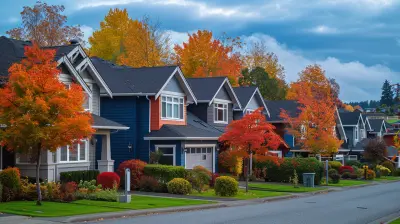
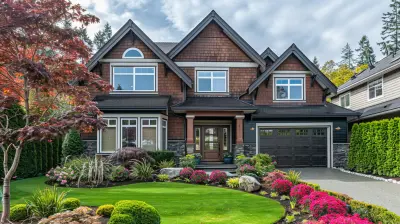
✅ Interior shots – When photographing entire rooms, deep DoF ensures everything from foreground furniture to the farthest wall is crisp.✅ Exterior building photos – When you want to capture a home’s facade, landscape, and surroundings in sharp detail.
✅ Wide shots – Spaces look more expansive and professional with a deep depth of field.
How to Control Depth of Field for the Best Real Estate Photos
1. Use Tripods for Sharpness
When using a small aperture (high f-stop), shutter speed slows down, which can cause blurriness. A tripod keeps your shots tack sharp.2. Adjust Your Aperture for Different Shots
- Use f/8 to f/11 for whole-room shots.- Use f/2.8 to f/5.6 for feature highlights.
3. Optimize Lens Choice
A wide-angle lens (16mm-24mm) is a game-changer for real estate photography. It ensures a deeper depth of field while capturing larger spaces.4. Mind the Focus Point
For interiors, focusing about a third into the scene ensures balanced sharpness throughout.5. Balance with Lighting
Natural light can impact how depth of field appears. Combine ambient light, natural light, and flash photography to maintain depth while preventing shadows.Common Depth of Field Mistakes (And How to Avoid Them)
🚨 Mistake #1: Shooting with Too Wide an Aperture (Too Shallow DoF)The Problem: The foreground or background becomes too blurry, making the image look unprofessional.
The Fix: Stick to f/8-f/11 for wide real estate shots.
🚨 Mistake #2: Using the Wrong Lens
The Problem: A telephoto lens (e.g., 85mm+) compresses space unnaturally.
The Fix: Use a wide-angle lens for real estate interiors.
🚨 Mistake #3: Focusing Incorrectly
The Problem: Parts of the room appear out of focus.
The Fix: Focus on a point about ⅓ into the scene for even sharpness.
🚨 Mistake #4: Ignoring Lighting Conditions
The Problem: Dark spaces require a wider aperture, reducing depth of field.
The Fix: Use additional light sources or a slower shutter speed with a tripod.
🚨 Mistake #5: Overusing Shallow Depth of Field
The Problem: While it looks artistic, it’s not practical for most real estate images.
The Fix: Reserve shallow DoF for feature shots or stylistic images, not full-room photography.
Final Thoughts
Mastering depth of field in real estate photography isn’t just about technical settings—it’s about storytelling. Knowing when to use a deep or shallow depth of field can make a massive difference in the appeal of your images.For professional, magazine-quality real estate photos:
👉 Use a deep depth of field for room and exterior shots.
👉 Use a shallow depth of field for accents and details.
👉 Combine aperture, focal length, and distance intelligently.
Practice these techniques, experiment with different settings, and watch your real estate photography go from average to breathtaking!
all images in this post were generated using AI tools
Category:
Real Estate PhotographyAuthor:

Vincent Clayton
Discussion
rate this article
2 comments
Talia Underwood
Great insights! I'm intrigued by how depth of field can transform a property’s appeal in photos. It’s fascinating to think about the emotional connection that a well-captured image can create for potential buyers.
November 25, 2025 at 3:55 AM
Vincent Clayton
Thank you! Depth of field indeed plays a crucial role in evoking emotions and highlighting a property's unique features. I'm glad you found the insights valuable!
Quinn McKittrick
Mastering depth of field in real estate photography is like knowing how to properly slice a pizza—get it wrong, and you end up with a blurry mess! Just remember, clarity attracts buyers, and you want them drooling over that perfect shot, not confused like they’re in a funhouse mirror!
July 5, 2025 at 12:55 PM
Vincent Clayton
Great analogy! Clarity is crucial in real estate photography—getting the depth of field right definitely makes your listings stand out!