Lighting Techniques Every Real Estate Photographer Should Know
22 July 2025
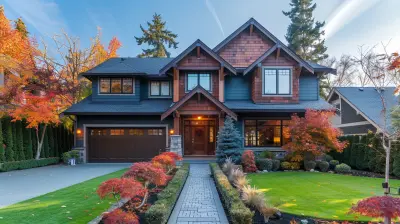
Let’s get real for a second: Real estate photography isn’t just about snapping pictures of kitchens and living rooms. Nope, it’s much more of a delicate dance between light and shadow, a blend of science and art that can mean the difference between a stale listing and a sold home. Good lighting doesn't just brighten the room—it brings it to life.
So if you're a real estate photographer—aspiring or seasoned—you’ve got to master the art of lighting. Why? Because lighting is what turns a basic room into a warm, inviting space buyers can picture themselves in. It sets the mood, directs attention, and makes every square foot count.
In this guide, we’re going to peel back the curtain (pun intended) on the lighting techniques every real estate photographer should know. Some are subtle. Some are bold. But all are game-changers.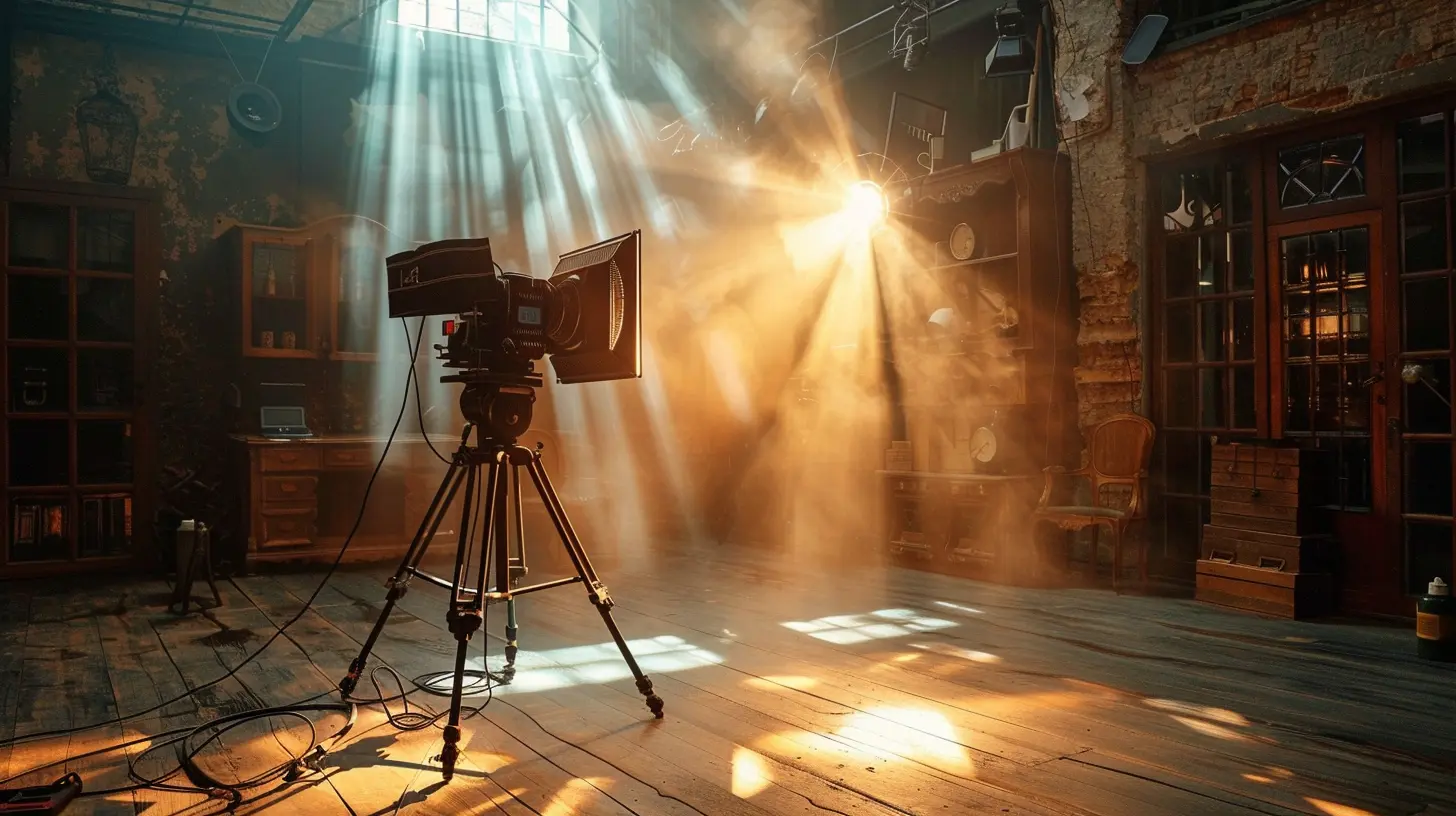
Why Lighting Matters in Real Estate Photography
Ever looked at a listing and thought it felt...cold? That's poor lighting at work. Lighting determines how a space feels in a photograph. It can make a cozy room feel cavernous or a massive space feel cramped. It affects color, clarity, texture—everything.That’s why top real estate photographers obsess over lighting like chefs obsess over seasoning. It’s the secret ingredient you can’t skip.
But here’s the catch—it’s not as simple as flipping on the lights and snapping away. Interior lighting can be tricky, and natural light can be unpredictable. So what do you do? You learn to manipulate and master both.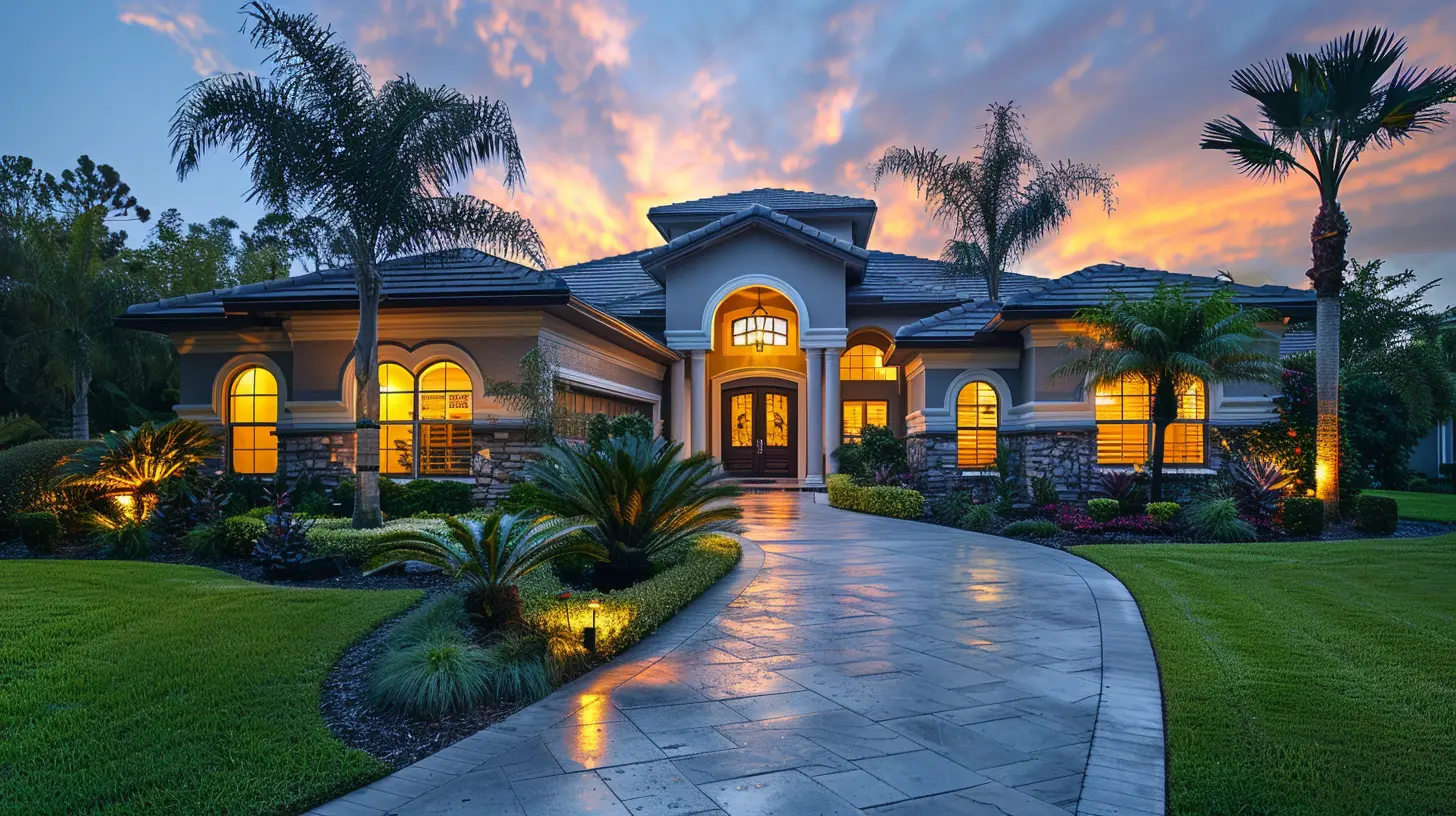
Natural Light: Your Best Friend (With a Few Mood Swings)
Timing Is Everything
Natural light is gold—figuratively and literally during golden hour. That sweet spot an hour after sunrise or before sunset brings soft, warm light that flatters almost any room. But don’t wait too long. Harsh midday sunlight can create blown-out highlights and dark shadows—total mood killers.Control the Chaos
Got too much sunlight flooding in? Use sheer curtains to diffuse it. Need more? Open blinds and shoot from the shadow side of the room. Always aim for even lighting across the frame. Uneven exposure is a big no-no in real estate photography.Watch for Color Casts
Sunlight bouncing off green lawns or red brick walls? That can mess with your white balance in weird ways. Always monitor how natural light interacts with surfaces and adjust your settings accordingly. No one wants a living room that looks like it belongs in a comic book.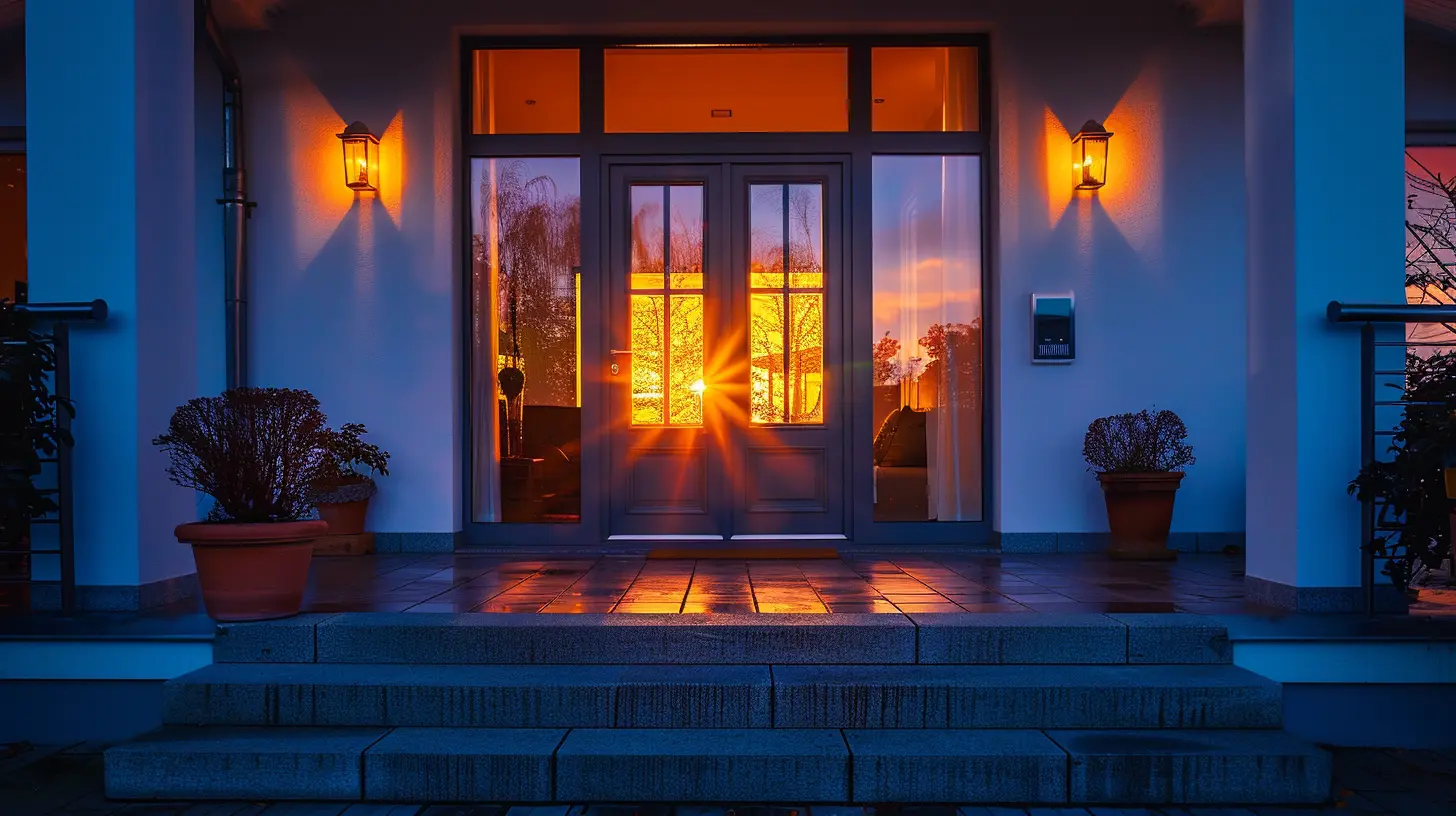
Interior Lights: Friend or Foe?
You might think adding interior lights always helps. Nope. Sometimes? Totally ruins the shot.The Pros
- Adds warmth- Highlights key features (think fireplaces or detailed woodwork)
- Helps balance exposure with darker corners
The Cons
- Can cause mixed color temperatures (that nasty orange/blue combo)- Introduces unwanted reflections or glares
- Overhead lights can cast harsh shadows
The Fix
If you're going to use interior lights, match your camera’s white balance to them. Or better yet—kill the lights and light it yourself. That way, you're in full control.
Flash Photography: Not Just for Parties
Let’s clear up a common myth: Flash isn’t just harsh, glaring light that ruins everything—it’s a powerful tool when used correctly.Bounce Flash for the Win
Direct flash? Hard pass. Instead, bounce your flash off a white ceiling or wall. This softens the light, spreads it evenly, and avoids those awful shadows and hotspots.Think of it like making popcorn—direct flash is the microwave (fast, but inconsistent), and bounced flash is the stovetop method (takes effort, but it’s sooo worth it).
Off-Camera Flash = Total Game Changer
Don’t rely on your camera’s hot shoe flash. Try putting your flash off to the side or behind the camera. Use remote triggers. This creates depth and dimension and helps mimic natural light—aka the holy grail.HDR Photography: Hear Me Out…
HDR (High Dynamic Range) gets a bad rap because, well, some photographers overdo it. But used properly? It’s a lifesaver.The Basics
You take multiple shots at different exposures—one under, one normal, one over—and blend them together. The result is a photo that captures details in both the shadows and highlights.Perfect for:
- Rooms with bright windows
- Scenes with both artificial and natural light
- High contrast situations
Keep It Real
The trick is subtlety. You want your HDR to look like real life, not a weird video game screenshot. Don’t go overboard with the contrast or saturation sliders, okay?Light Painting: Photography’s Best-Kept Secret
Yeah, it sounds like something out of an art class, but light painting is pure photography magic.What Is It?
You take a long exposure shot and “paint” the scene with a moving light source—like a flash or LED wand. Then blend it in post-processing.Why Bother?
Because it gives you total control. Want to highlight that granite countertop?Go for it.
Want to keep that ceiling fan in the shadows?
Done.
It’s the difference between blasting a scene with light and sculpting it with surgical precision.
Use Window Light Like a Pro
Windows aren’t just for views—they’re amazing natural softboxes.Face It (Literally)
Position yourself so the window light hits your subject straight on or at a slight angle for soft, flattering shadows. Side lighting adds depth. Backlighting can look dreamy—but you’ll need to expose carefully to avoid dark interiors or blown-out backgrounds.Don’t Forget the Sheers
Sheer curtains are like the Instagram filters of real estate lighting. They soften harsh rays and spread light beautifully. Always keep a set handy during shoots.Reflectors: The Silent Heroes
Not every room gets perfect lighting. Reflectors help bounce back light into dark corners, under furniture, or into awkward spaces.DIY Trick
No professional reflector? No sweat. Use a white foam board or even a silver car windshield sunshade. Cheap. Effective. Old-school.Avoid Overexposure Like It’s Budget Housing
Overexposure is the real estate photography equivalent of shouting in someone's face. It's loud, it's blunt, and nobody likes it.The Fix
Use your histogram. Make sure you’re not blowing out highlights—especially around windows. Bracket your shots if you’re unsure. Always, always play it safe.Color Temperature: Get in the Zone
Every light source has a temperature. Daylight is blue-ish. Tungsten is yellow-ish. Mixing them without adjusting? You get weird, muddy tones.Keep It Consistent
Choose one dominant light temperature per shot. Either adjust your camera’s white balance setting or correct it in post. Keep skin tones and whites looking natural.Pro tip: Custom white balance settings are your best friend. Use a grey card or white sheet to dial it in perfectly on set.
Post-Processing: Where the Magic (and Mistakes) Happen
Even with perfect lighting, your job isn’t done when you click the shutter. Editing is where you tweak exposure, fix white balance, and polish everything to showroom quality.Keep It Real
Too much contrast or saturation? That screams “fake.” Your edit should look like the room on its best day—not like it had a glow-up overnight.Bonus Tips for Real Estate Lighting Mastery
- Bring backup lights. Batteries die. Sunlight fades. Always come prepared.- Scout the home beforehand. Know your light sources and shadows.
- Shoot tethered to a laptop if possible. You’ll spot lighting issues way faster.
- Less is often more. Don’t overfill a room with light. Let shadows add depth.
Wrapping Up: Your Photos Should Sell the Space—Not Just Show It
Lighting is one part technical know-how, one part artistic vision. When used right, it invites the viewer into the scene. Makes them feel like they’re already home. And that? That’s what sells houses.Remember, you’re not just a photographer—you’re a visual storyteller. And every great story needs the right light.
So next time you walk into a home, don’t just look for the perfect angle. Look for where the light tells you to point your camera.
Go on. Shine a light on that listing. Literally.
all images in this post were generated using AI tools
Category:
Real Estate PhotographyAuthor:

Vincent Clayton
Discussion
rate this article
2 comments
Selena Nguyen
Great insights on lighting techniques! It's inspiring to see how they can truly enhance a property's appeal. Your tips will undoubtedly help photographers capture the essence of homes with compassion and creativity. Thank you for sharing!
April 8, 2026 at 8:19 PM
Damon Franco
Great insights! Lighting can truly transform a space. These techniques will definitely help photographers capture the essence of properties and make listings shine. Excited to see the before and after!
August 7, 2025 at 2:46 AM
Vincent Clayton
Thank you! I'm glad you found the insights helpful. Can't wait to see the transformations too!