How to Make Small Spaces Look Bigger Through Photography
22 October 2025
Ever tried taking a photo of a small room only to realize it looks even tinier in pictures? That’s because photography, when done wrong, can make a space feel cramped and cluttered. But what if I told you there are simple techniques to make any small room look more spacious?
Whether you’re a real estate agent trying to sell a home, an interior designer showcasing your work, or simply someone who wants to create Instagram-worthy shots, you’re in the right place. Let’s dive into the secrets of making small spaces appear bigger through photography!
Understanding Perspective and Angles
1. Shoot From the Right Height
The height at which you take a photograph plays a significant role in how the space is perceived. For most interiors, shooting from about chest level (usually 4-5 feet from the ground) works best. Shooting too high can distort the room, while shooting too low may make the space look compressed.2. Use Wide-Angle Lenses – But Don’t Overdo It
A wide-angle lens is your best friend when it comes to photographing small spaces. It captures more of the room, making it feel more open. However, avoid extreme wide-angle distortions that make furniture look stretched or unnatural. The sweet spot? A focal length between 16mm and 24mm on a full-frame camera.3. Shoot From Corners for Maximum Depth
One of the easiest ways to create the illusion of more space is to take photos from the room’s corners. This technique adds depth and allows viewers to see more of the space in a single frame. If shooting from a corner isn’t possible, try capturing the scene from just outside a doorway looking in.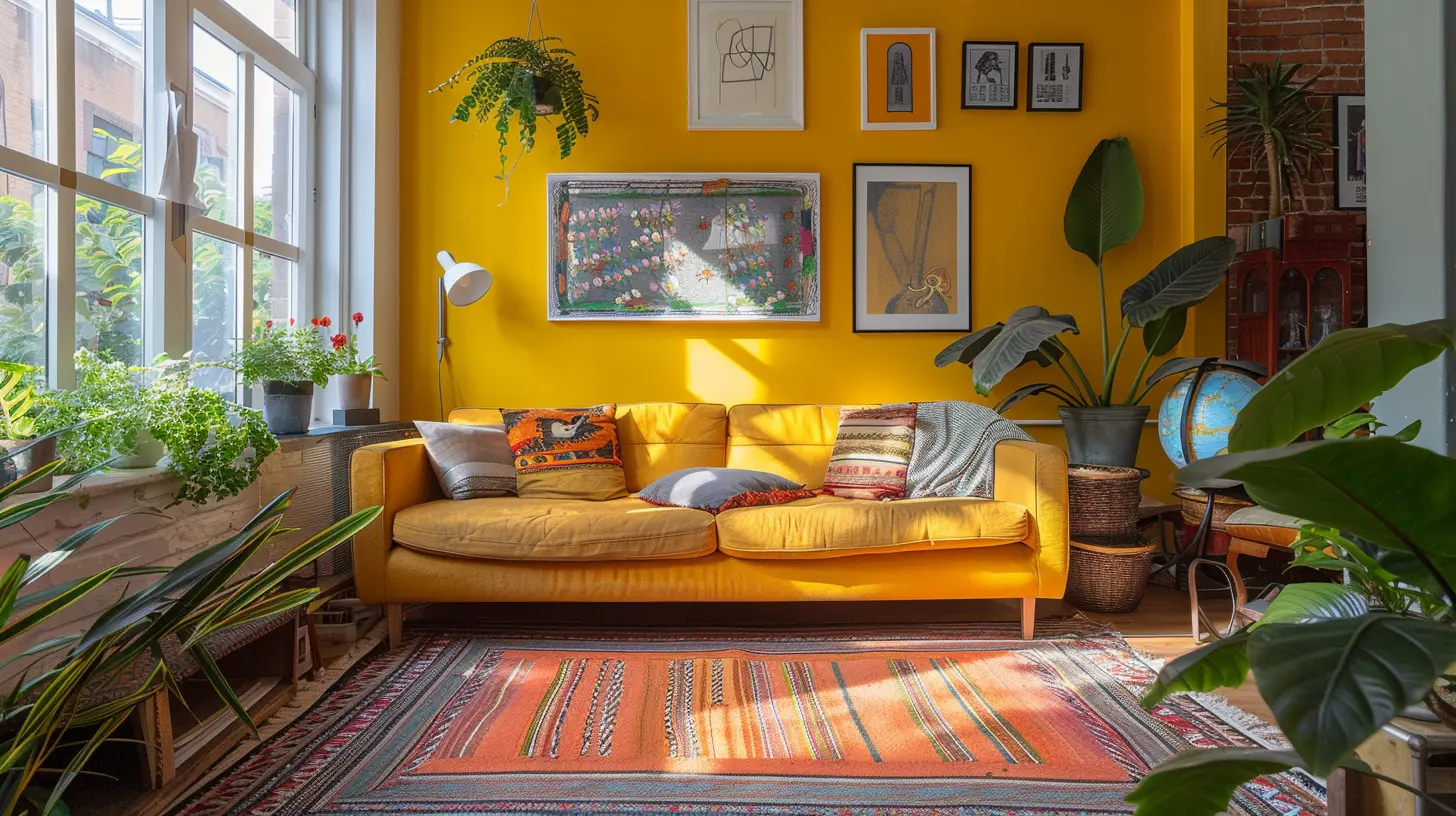
Lighting: Your Secret Weapon
4. Maximize Natural Light
Light makes a huge difference in how spacious a room looks. Open the curtains, pull up the blinds, and let as much natural light in as possible. If the room is naturally dark, consider using reflectors to bounce light around.5. Use Artificial Light Wisely
Sometimes, natural light isn’t enough. In such cases, soft, even artificial lighting can help. Avoid using harsh overhead lights that create shadows. Instead, opt for well-placed lamps and LED panels that mimic daylight.6. Adjust Camera Settings for Balanced Exposure
Lighting can be tricky, especially in smaller areas where shadows and highlights clash. Adjust your camera’s exposure settings to ensure an even balance between bright and dark areas. A slightly overexposed image often makes a space look airier.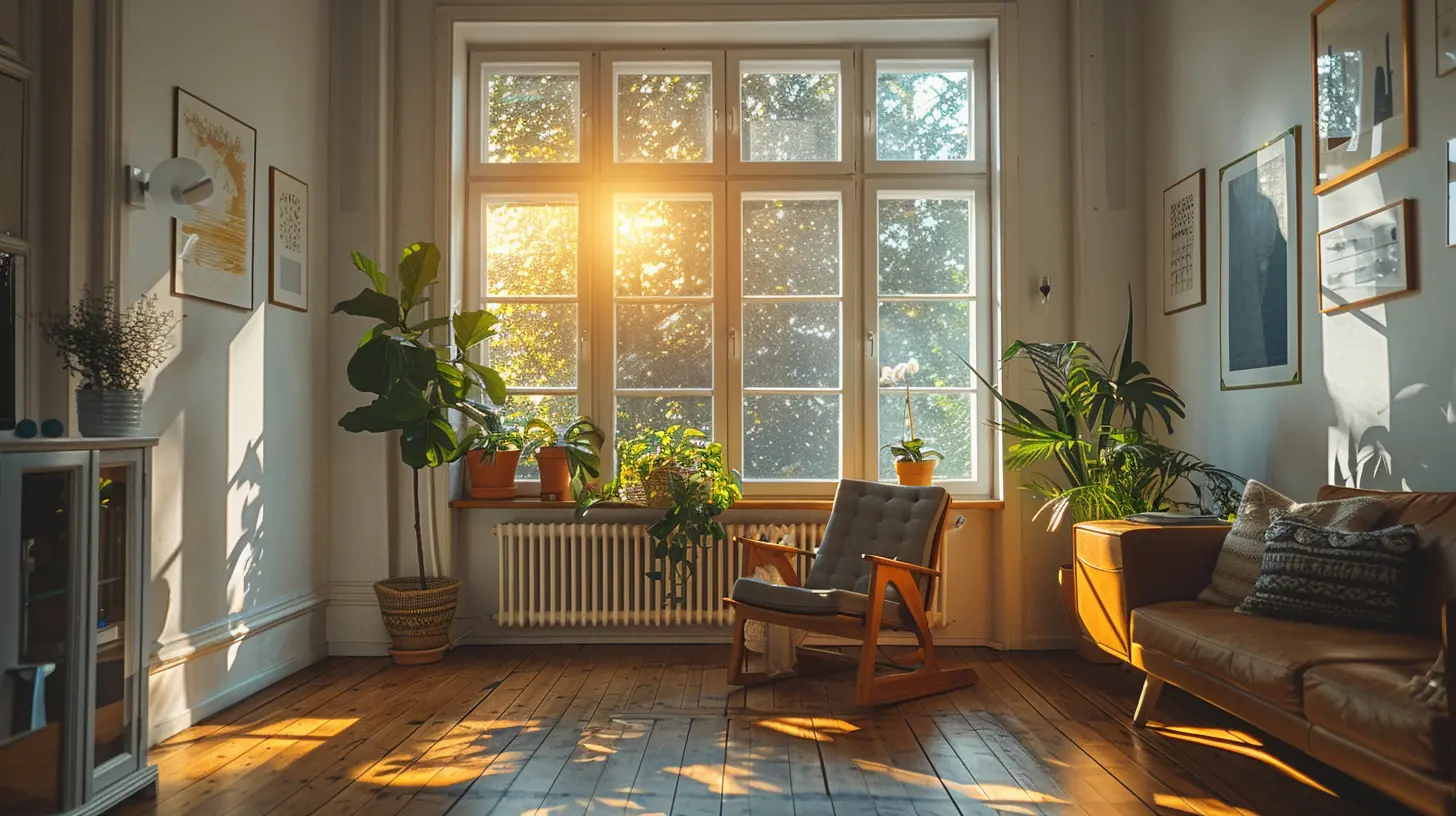
Composition Techniques for a Spacious Feel
7. Declutter Before You Shoot
A cluttered room automatically looks smaller. Before you start snapping, remove unnecessary items, tidy up, and make sure everything is in its place. Less is more when it comes to making a space feel open.8. Use Leading Lines to Create Depth
Leading lines—like floors, walls, and furniture edges—can guide the viewer’s eye and add depth to your images. When composed correctly, these lines can give the impression of a longer, more expansive space.9. Keep Vertical & Horizontal Lines Straight
Ever noticed how some interior photos feel “off” even if they look good? That’s often due to tilted lines. Straightening your vertical and horizontal lines using a camera’s grid feature or post-processing tools can make a small space feel more structured and larger.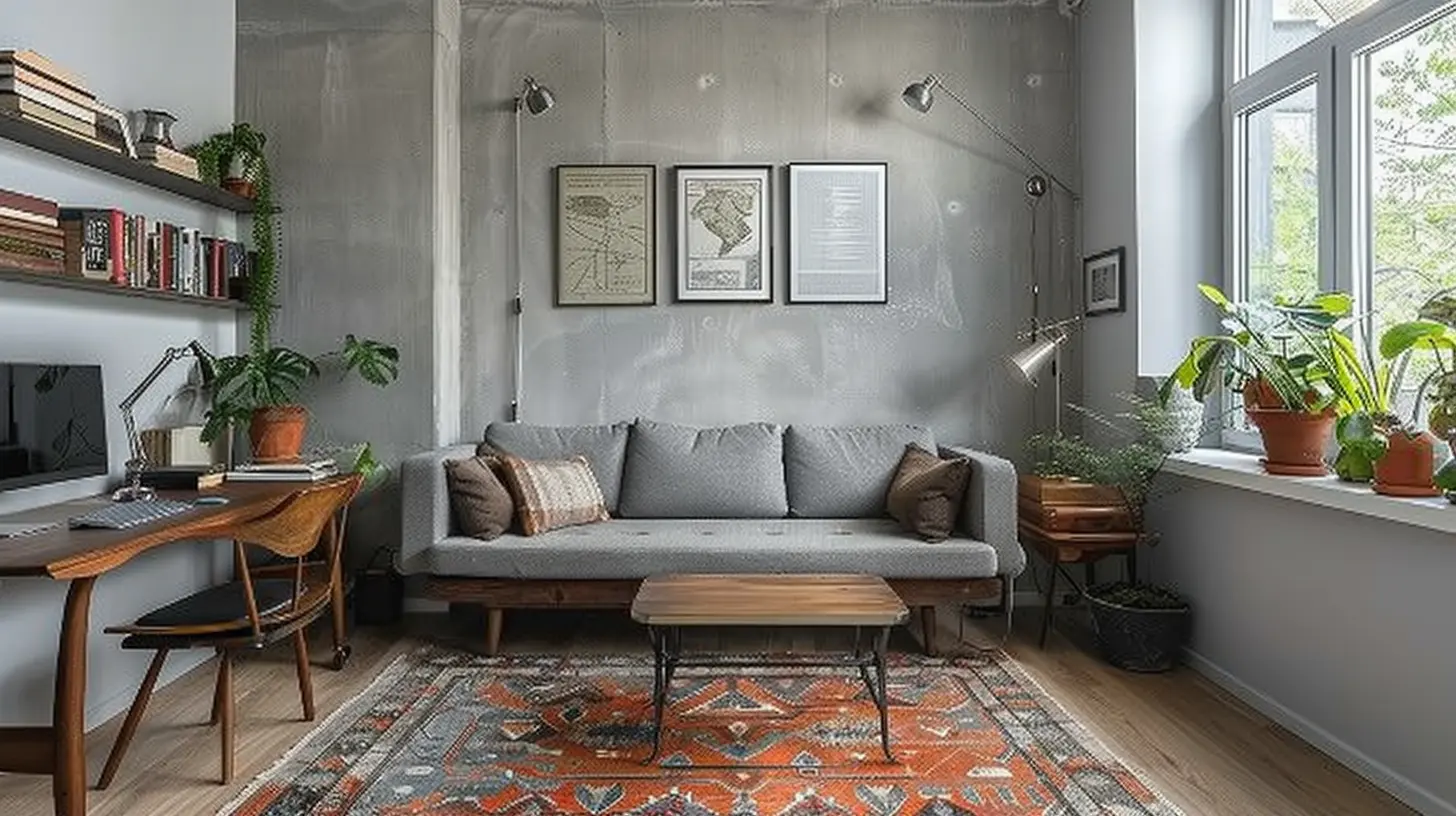
Color and Contrast: The Illusion of Space
10. Bright, Neutral Colors Work Best
Light-colored walls reflect more light, making a room appear more open and airy. Whites, pastels, and soft greys work beautifully in photos by enhancing brightness. Dark colors, while stylish, tend to absorb light and shrink the appearance of a room.11. Keep Contrast Minimal
High contrast can make a room look busy and smaller than it actually is. When photographing interiors, try to keep the color palette cohesive. Matching furniture to the walls—or at least keeping it within a similar shade—creates a seamless look that tricks the eye into seeing more space.Post-Processing: The Final Touch
12. Correct Lens Distortion
Even the best lenses introduce some level of distortion. Use editing software like Lightroom or Photoshop to correct barrel distortion that makes walls bend unnaturally.13. Adjust Brightness & Shadows
Small spaces come with tricky lighting challenges. A little tweaking of brightness, highlights, and shadows can make a world of difference. Just remember to keep it natural—overedited photos are a turnoff!14. Sharpen & Enhance Details
A sharp, crisp image always looks more professional. Apply slight sharpening to textures (like fabric and wood) to make them pop without going overboard.
Bonus Tricks for Real Estate Photography
15. Stage the Room for Photography
If you're photographing a space for real estate purposes, simple staging can do wonders. A small plant, a strategically placed mirror, or neatly arranged pillows can immediately make a space look more inviting and spacious.16. Use Mirrors to Reflect Light and Space
Mirrors create an optical illusion of depth while also bouncing light around the room. If possible, position a mirror opposite a window to amplify the amount of light in the image.17. Capture Multiple Angles for a Complete Feel
One photo rarely does justice to a space. Take multiple shots from different perspectives—front-facing, corner shots, and doorway views—to provide a more comprehensive sense of the room’s layout.Conclusion
Photographing small spaces may seem challenging, but with the right techniques, you can transform even the tiniest rooms into expansive, inviting spaces. From using wide-angle lenses and maximizing natural light to keeping things uncluttered and tweaking contrast in post-processing, every little detail helps.So next time you're capturing a compact space, remember these tips and watch your photos open up, making every inch count!
all images in this post were generated using AI tools
Category:
Real Estate PhotographyAuthor:
Vincent Clayton
Discussion
rate this article
1 comments
Pia Bell
In photography, mastering perspective and lighting is key to making small spaces appear larger. Utilize wide-angle lenses, shoot from the corners, and embrace natural light. Thoughtful framing and minimalist styling can also create an illusion of openness, enhancing the overall appeal of your space.
October 22, 2025 at 10:30 AM
Vincent Clayton
Great tips! Mastering perspective and lighting truly transforms small spaces in photography. Emphasizing natural light and smart framing can make a significant difference. Thanks for sharing!