Common Mistakes to Avoid in Real Estate Photography
23 June 2025
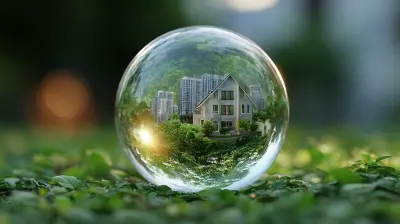
When it comes to selling a home, first impressions matter. And in today's digital world, those first impressions often come from photographs. Buyers scroll through listings at lightning speed, deciding in mere seconds whether a property is worth a closer look. If your real estate photos miss the mark, you risk losing potential buyers before they even set foot on the property.
Real estate photography isn't just about snapping a few pics with your smartphone—it's an art. But even professionals make mistakes that can turn a promising listing into a dud. So, what are the most common blunders, and how can you avoid them? Let's dive in.
1. Poor Lighting Ruins Everything
Lighting can make or break a real estate photo. Dark, shadowy rooms feel uninviting, while overexposed images wash out important details. The key? Balance.Common Lighting Mistakes:
- Relying solely on overhead lights (which create harsh shadows).- Shooting in low light without a tripod, resulting in blurry images.
- Over-editing bright spots, making photos look unrealistic.
Fix:
- Use natural light whenever possible—open curtains and shoot during daylight hours.
- Utilize external flashes or bounce light off walls to soften shadows.
- Adjust exposure and white balance settings in post-editing, but keep it natural.
2. Ignoring Proper Composition
A well-composed shot guides the viewer effortlessly through the space. Poor framing and awkward angles, on the other hand, can make even the most stunning homes look unappealing.Common Composition Mistakes:
- Tilting the camera, making walls and furniture appear slanted.- Shooting from too high or too low, distorting the room’s proportions.
- Cutting off important elements like doorways or windows.
Fix:
- Keep the camera level using a tripod or built-in gridlines.
- Shoot from an appropriate height—typically around chest level.
- Frame shots to include key selling points like spacious layouts or beautiful windows.

3. Cluttered or Messy Spaces
Would you buy a home that looks like someone just finished a weekend binge of fast food and laundry? Probably not. Clutter distracts from the actual space and makes rooms look smaller and less appealing.Common Clutter Mistakes:
- Leaving personal items like shoes, laundry, or dishes in the shot.- Overcrowding with too much furniture, making spaces feel cramped.
- Neglecting to stage properly with neutral décor.
Fix:
- Declutter before shooting—remove anything that isn’t adding value.
- Use staging techniques to make rooms feel spacious yet lived-in.
- Keep surfaces clear to create a clean, inviting look.
4. Using the Wrong Camera or Lens
You wouldn’t use a butter knife to cut a steak, right? The same logic applies to cameras and lenses in real estate photography. Using the wrong gear can result in unflattering, distorted, or low-quality images.Common Equipment Mistakes:
- Using a smartphone instead of a high-quality DSLR or mirrorless camera.- Choosing a standard lens rather than a wide-angle lens.
- Ignoring tripod use, leading to shaky or uneven shots.
Fix:
- Invest in a good camera with high resolution and manual settings.
- Use a wide-angle lens (between 16mm-24mm) to capture more of the room.
- Always use a tripod to stabilize shots and maintain consistency.
5. Bad Editing Practices
Editing is meant to enhance, not deceive. Over-processed photos can look fake, while under-edited images might not do a property justice.Common Editing Mistakes:
- Over-saturating colors, making grass look neon and walls unnaturally blue.- Using HDR excessively, creating an unrealistic, artificial feel.
- Failing to correct distortion, making rooms look warped.
Fix:
- Keep color corrections subtle and true to life.
- Use HDR sparingly to balance lighting without making the image look surreal.
- Fix lens distortions in editing software to maintain realistic proportions.
6. Skipping Exterior Shots
Curb appeal isn’t just a buzzword—it’s essential. If your listing only has interior shots, buyers may assume there's something wrong with the exterior.Common Exterior Mistakes:
- Shooting on a gloomy or overcast day, making the home look dreary.- Failing to remove trash bins, cars, or clutter from the driveway.
- Not highlighting key exterior features like a well-maintained garden or patio.
Fix:
- Choose a bright, sunny day for exterior shots to enhance curb appeal.
- Move distracting objects out of the frame before shooting.
- Capture multiple angles, including close-ups of unique outdoor features like landscaping or architectural details.
7. Forgetting to Capture Key Selling Points
Every home has unique features that set it apart. Whether it’s a custom fireplace, a gourmet kitchen, or breathtaking views, failing to showcase these details is a missed opportunity.Common Oversight Mistakes:
- Taking too many generic shots with no focus on standout features.- Ignoring small but desirable details, like crown molding or smart home features.
- Failing to highlight room flow to help buyers visualize the layout.
Fix:
- Identify the property’s best assets before shooting.
- Take close-up shots of details that add value.
- Ensure your photos tell a story, guiding the viewer through the home’s highlights.
8. Not Taking Enough Photos
Few things are more frustrating for buyers than a listing with three or four mediocre photos. A lack of images makes people suspicious—what’s the seller hiding?Common Mistakes:
- Uploading only a handful of photos, leaving out important rooms.- Failing to capture different angles of key spaces.
- Skipping necessary shots like hallways, closets, or bathrooms.
Fix:
- Provide at least 20-30 high-quality images to give a full tour.
- Shoot each room from multiple angles for a complete perspective.
- Don’t neglect "less exciting" spaces—they help buyers visualize the layout.
9. Inconsistent Styles Across Photos
Imagine seeing a listing where one room is bright and airy, while the next looks dark and grainy. Inconsistent styles can make a home feel disjointed and unappealing.Common Style Inconsistencies:
- Mixing natural and artificial lighting, creating color mismatches.- Using different exposure levels across images.
- Heavy editing on some photos while leaving others raw.
Fix:
- Maintain a cohesive look using uniform lighting and editing techniques.
- Adjust exposure settings consistently for a balanced presentation.
- Stick to one editing style across the entire album.
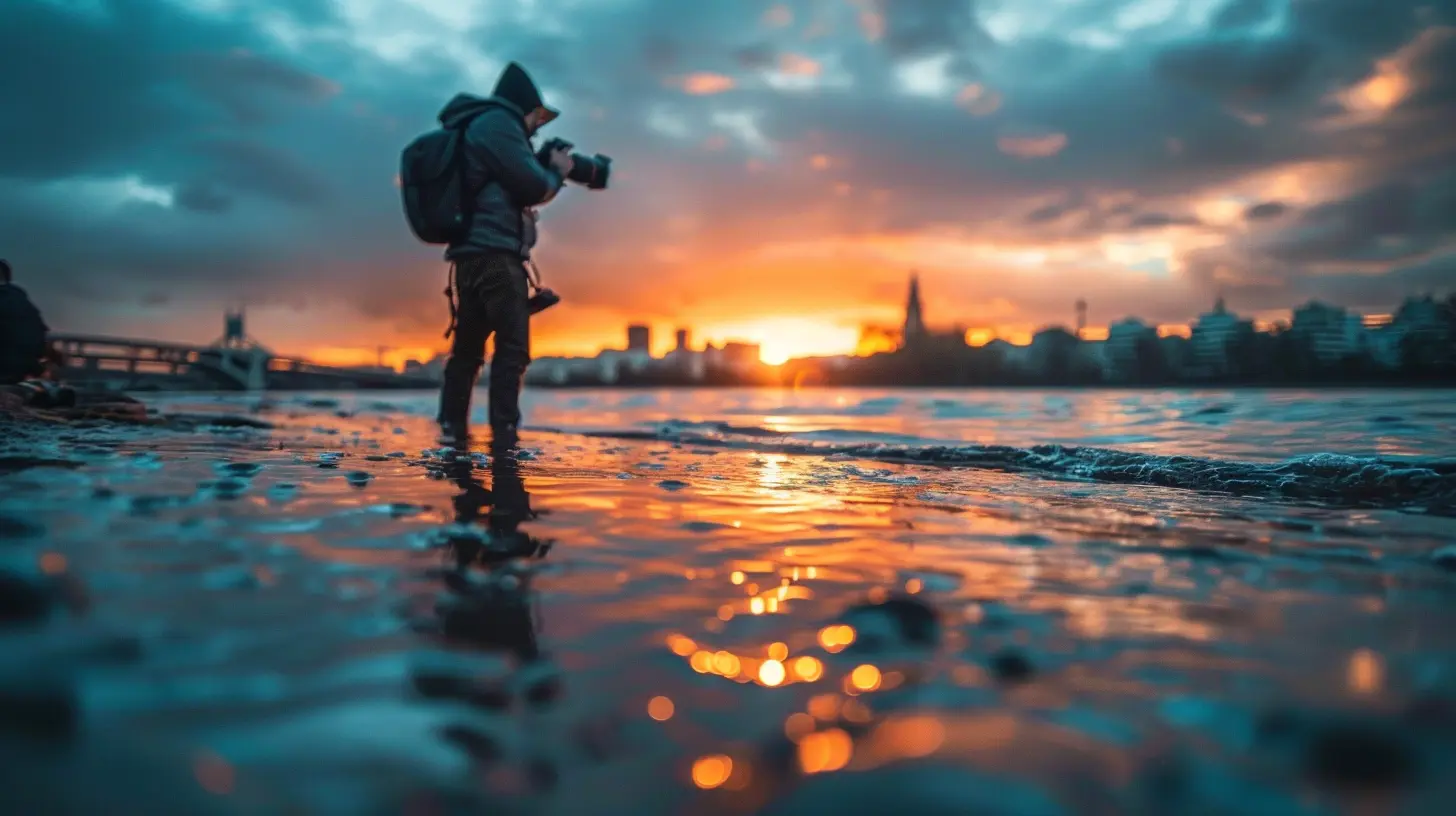
10. Not Hiring a Professional When Necessary
Let’s be honest—smartphones have great cameras, but they’re no match for a professional real estate photographer. If you’re serious about selling a property quickly and at the best price, hiring an expert is worth the investment.Why a Professional Might Be the Best Choice:
- They have the right equipment and expertise to capture homes in the best light.- They understand staging techniques that enhance photographs.
- Their editing skills ensure a polished and professional end result.
Fix:
- If you’re inexperienced or unsure, hire a pro—it pays off in faster sales and higher offers.
- If you’re taking photos yourself, educate yourself on best practices before diving in.
Final Thoughts
Great real estate photography isn't just about snapping pictures—it’s about telling a compelling visual story that makes buyers want to step inside. Avoiding these common mistakes can make a huge difference in how a property is perceived, ultimately leading to faster sales and higher offers.Whether you’re a real estate agent, homeowner, or photographer, keeping these tips in mind will help you capture a home in the best possible light—literally and figuratively.
all images in this post were generated using AI tools
Category:
Real Estate PhotographyAuthor:

Vincent Clayton
Discussion
rate this article
2 comments
Dixie Benton
Great insights! Avoiding common pitfalls like poor lighting and cluttered backgrounds can truly elevate real estate listings. High-quality images make a significant difference in attracting potential buyers. Well done!
November 16, 2025 at 4:34 AM
Vincent Clayton
Thank you! I'm glad you found the insights helpful—great photography really does make a difference in showcasing listings!
Elora Cannon
Great insights on real estate photography! Avoiding common mistakes can significantly enhance property appeal. Clear, high-quality images really do make a difference in attracting buyers.
June 28, 2025 at 4:44 AM
Vincent Clayton
Thank you! I'm glad you found the insights helpful. High-quality images truly are essential for showcasing properties effectively!